Windows Theming is becoming more and more difficult as Microsoft transitions into an ever more closed Operating System. Windows 7 was perhaps the last of a great line of Windows theming Operating Sytems, and the majority of users (myself included) switched to Linux rather than Windows 10.
However, that is not to say that Windows theming is impossible nowadays. In fact, it is surprisingly easy to do. Many users like to add themes, and external programs to Windows to spice up the look a little. And this guide will help run you through the first steps, finding and installing a theme.
Before Anything Else
To install any external windows theme, we first need a program called UltraUXThemePatcher. This is the program that recognizes our theme and installs it. Microsoft itself rejects all other themes than it's "Aero Theme" so we'll need external software to make it work. UltraUX sometimes doesn't work on a couple of Windows systems, if so I would advise you to use SecureUX instead.
So hopefully you have that installed now. We're taking our first steps in installing a theme! Next: finding a theme to use.
Finding a Theme
As opposed to Linux, creating a Windows theme is rather difficult. With the help of programs such as Vista Style Builder it does become easier to build them, but the general consensus is to download one from another theme builder.
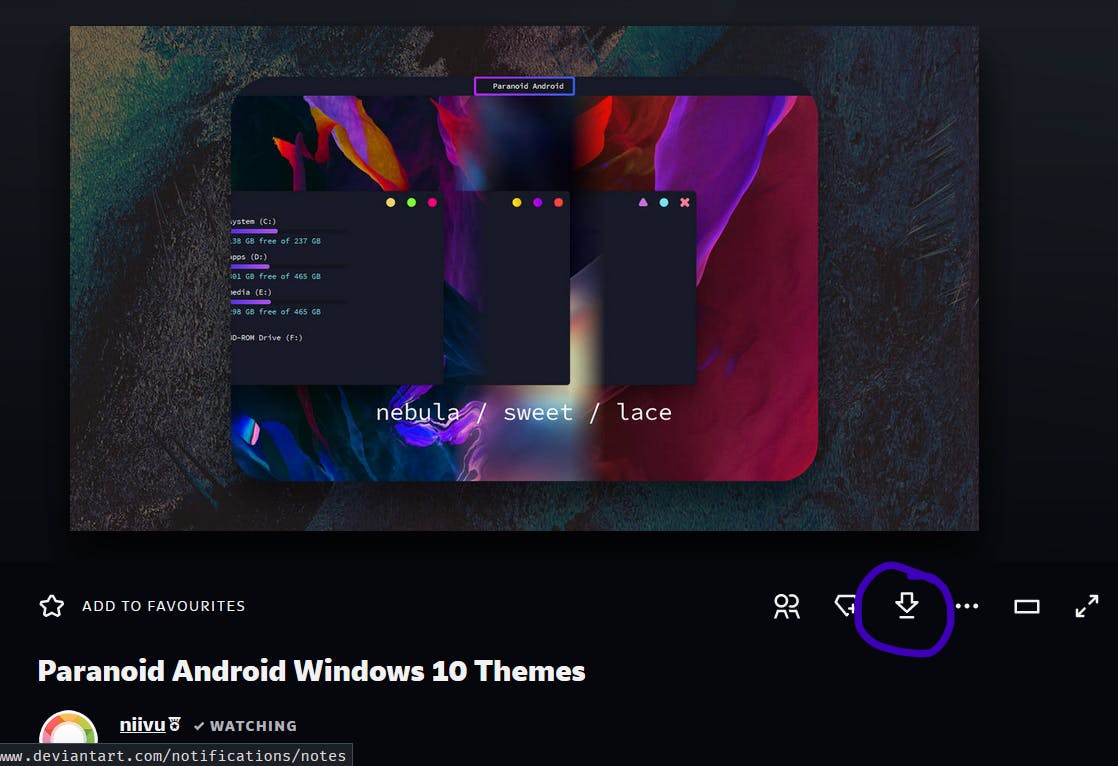
In my opinion, the best person to go to for themes is niivu. He's created over a hundred deviations, each one as unique as the last. Also, his themes generally include some extras such as PotPlayer skins, and FirefoxCSS.

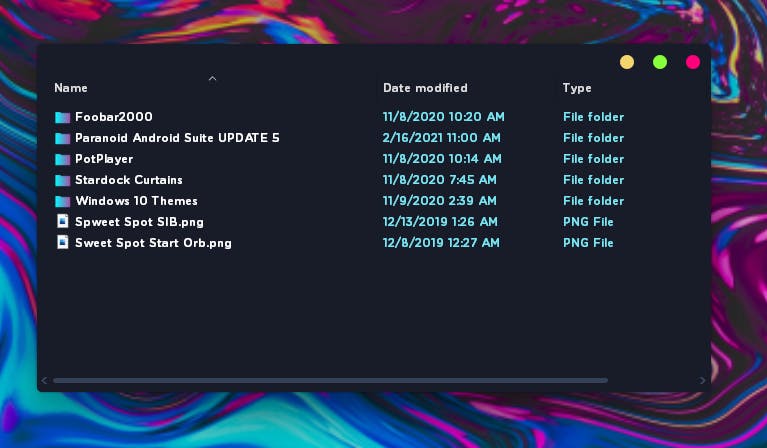
Download the theme and extract it to a folder which you're fine with leaving there for a while. (I've created a Customization folder in my home files which I put all of my theming related files in).
Now comes the perhaps confusing part for many. The theme folder contains many files, and lots of people copy the wrong ones into the wrong places so I'll be careful wording the next section.

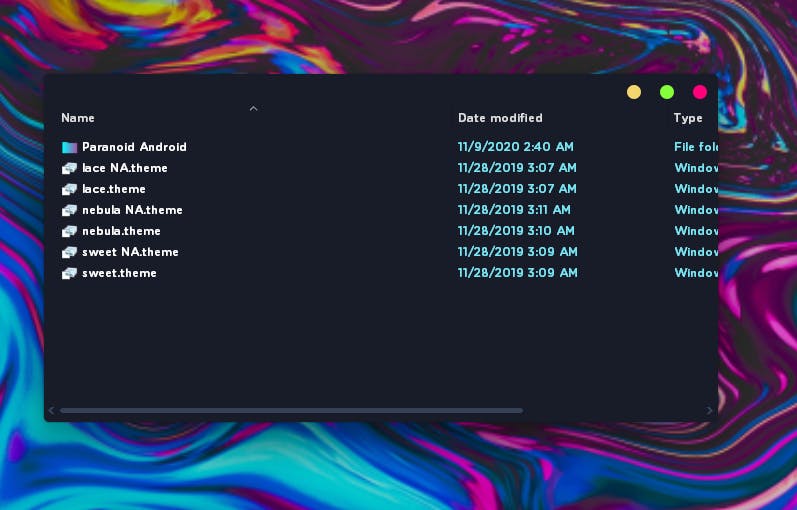
The theme files are generally found in a folder named "Windows 10 Themes", and it's all of the files in this folder that we'll copy over to "C:\Windows\Resources\Themes". Remember to copy the folders over as well! Remember that if the Windows 10 theme folder has no .theme files in it, you'll probably have to choose between a light or dark mode option. Only copy the files over if the layout looks vaguely like this:

Now, head over to settings. Go to Personalization > Themes, and select your chosen theme. NA themes are themes that don't have address bars. And Office themes skin Microsoft Office applications as well. Once you click on the theme, it should apply itself.
Remember that themes usually reset mouse to "blank", so you'll need to head back to the top of the theme section, select mouse cursor, and change it back to Windows default.
Thanks
That's the end of my introduction to Windows theming blog. Next time I'll talk about applying icon themes, wallpapers, and more. Thanks for reading and please give me some feedback at the r/unixporn discord server!
